> ## Documentation Index
> Fetch the complete documentation index at: https://docs.1capture.com/docs/llms.txt
> Use this file to discover all available pages before exploring further.
# 開始截圖
## 安裝 1Capture
打開 macOS App Store,搜尋 1Capture(或點擊下方連結),進入應用頁面後點選「安裝」即可。
Mac App Store
## 開始截圖
當你需要截圖時,可以透過以下 2 種方式快速開始。
按下預設的截圖快捷鍵 `Option` `Option` 可進入截圖模式。此快捷鍵可在初次安裝的設定嚮導及偏好設定面板中修改。
如果忘記了快捷鍵,也可以點擊螢幕頂部選單列的 1Capture 圖示,打開 1Capture 選單,從這裡開始截圖。
## 選擇截圖區域
進入截圖狀態後,即可開始選擇截圖區域。1Capture 截圖模式分為三種:
1. 區域截圖:按住右鍵並拖曳,即可選取截圖範圍
2. 視窗截圖:點擊視窗即可對該視窗進行截圖
3. 全螢幕截圖:按下 F 選取當前螢幕,之後可以標註;按下 Enter 則會直接儲存並複製當前螢幕的截圖。
與系統內建的截圖不同,1Capture 的選取區域支援二次調整。區域及全螢幕截圖皆可自由調整選取範圍,視窗截圖則只能在視窗範圍內調整。透過拖曳即可改變選取區域大小。
## 標註截圖
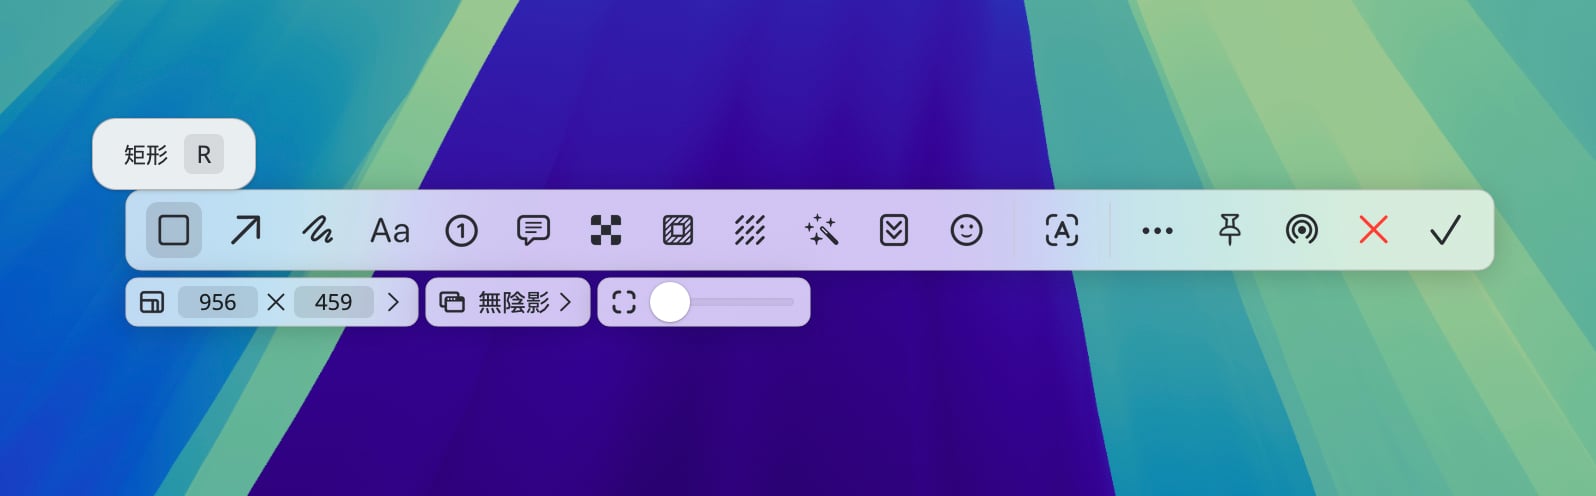
選取區域確定後,旁邊會顯示標註工具列。將游標移至工具圖示上方,即可看到該工具名稱及局部快捷鍵。點選對應工具後,會彈出次級工具列,用以調整該工具的設定。設定完成後,即可在截圖區域進行標註。
 ## 保存截圖
所有標註操作完成後,即可保存截圖。1Capture 提供儲存、複製、AirDrop 及釘選等功能,點擊對應圖示即可執行。
## 截圖提示
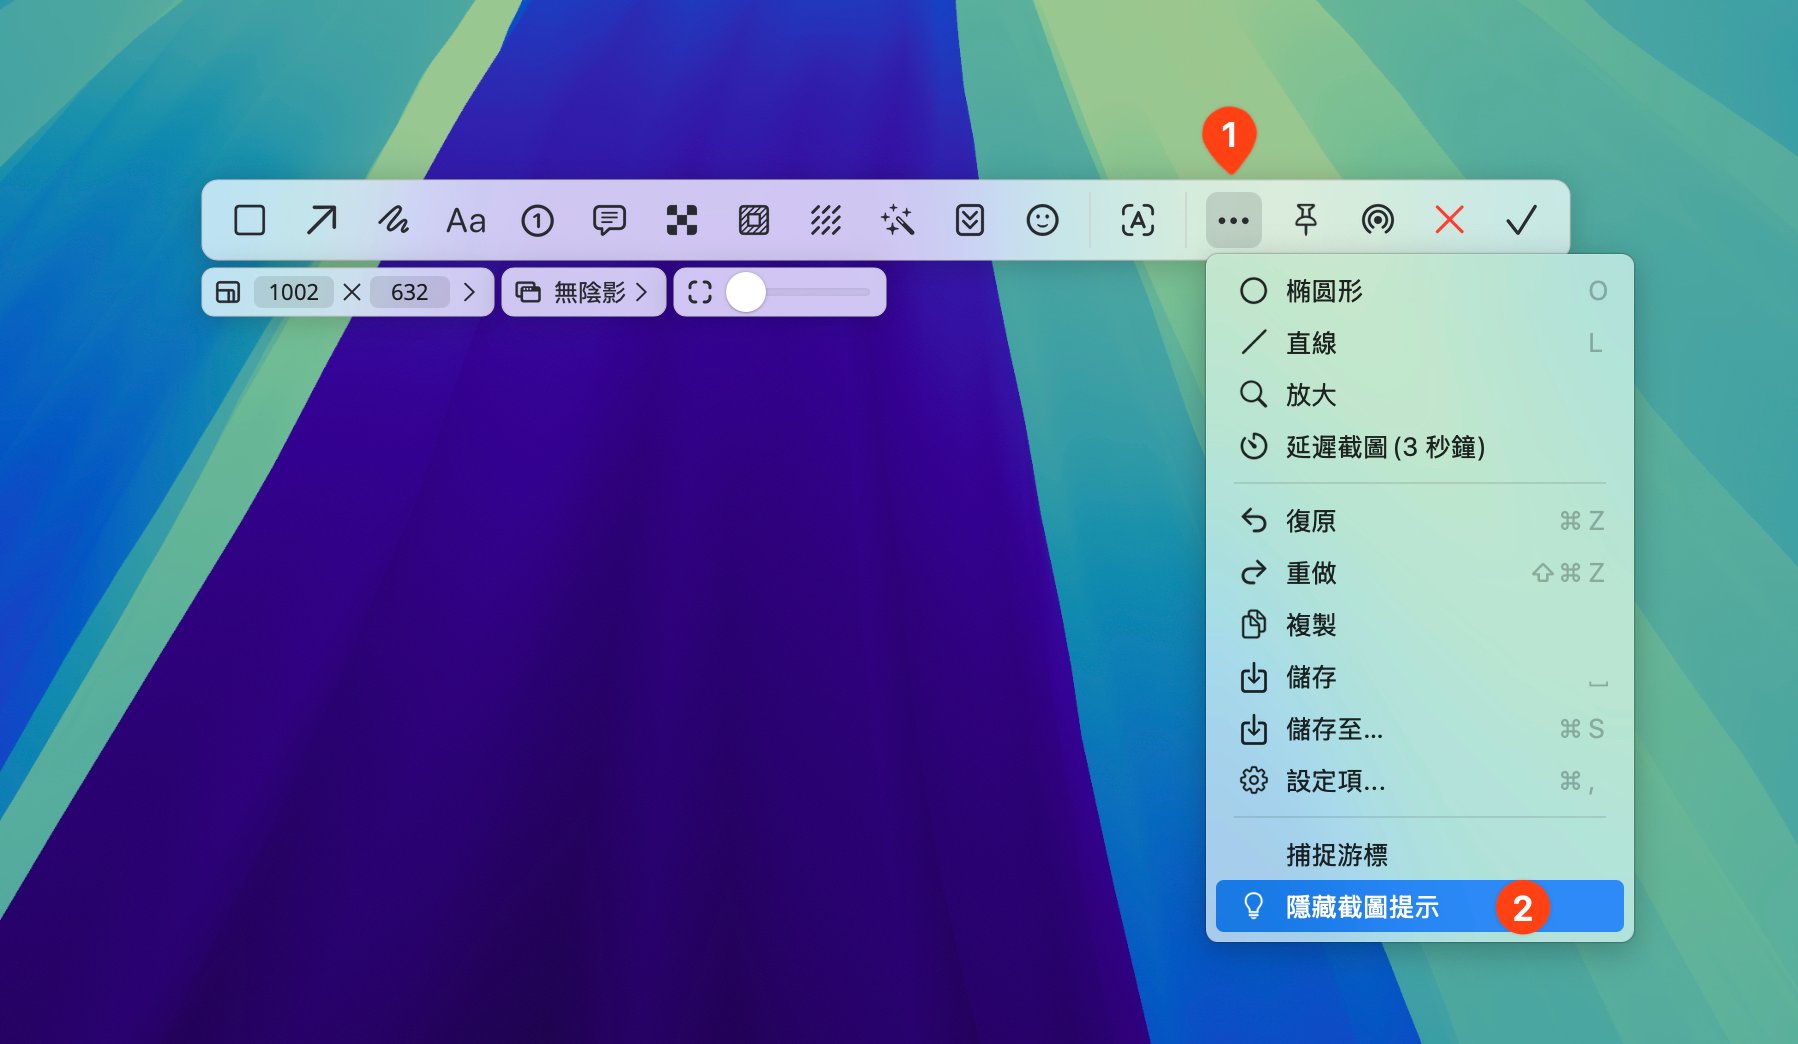
每次進入截圖時,螢幕左下角會顯示截圖提示。初次使用時,可參考提示操作;熟悉後,則可在工具列選單中關閉該提示。
## 保存截圖
所有標註操作完成後,即可保存截圖。1Capture 提供儲存、複製、AirDrop 及釘選等功能,點擊對應圖示即可執行。
## 截圖提示
每次進入截圖時,螢幕左下角會顯示截圖提示。初次使用時,可參考提示操作;熟悉後,則可在工具列選單中關閉該提示。